
Wattle Hill Journal shares practical, down-to-earth guidance on rural heritage and oast house living in the kent and sussex weald for readers across the UK.
- 0123456789
- Angle Bd Abdelmoumen & rue soumaya, Résidence
- [email protected]
Wattle Hill Journal shares practical, down-to-earth guidance on rural heritage and oast house living in the kent and sussex weald for readers across the UK.
 By Eleanor Whitcombe
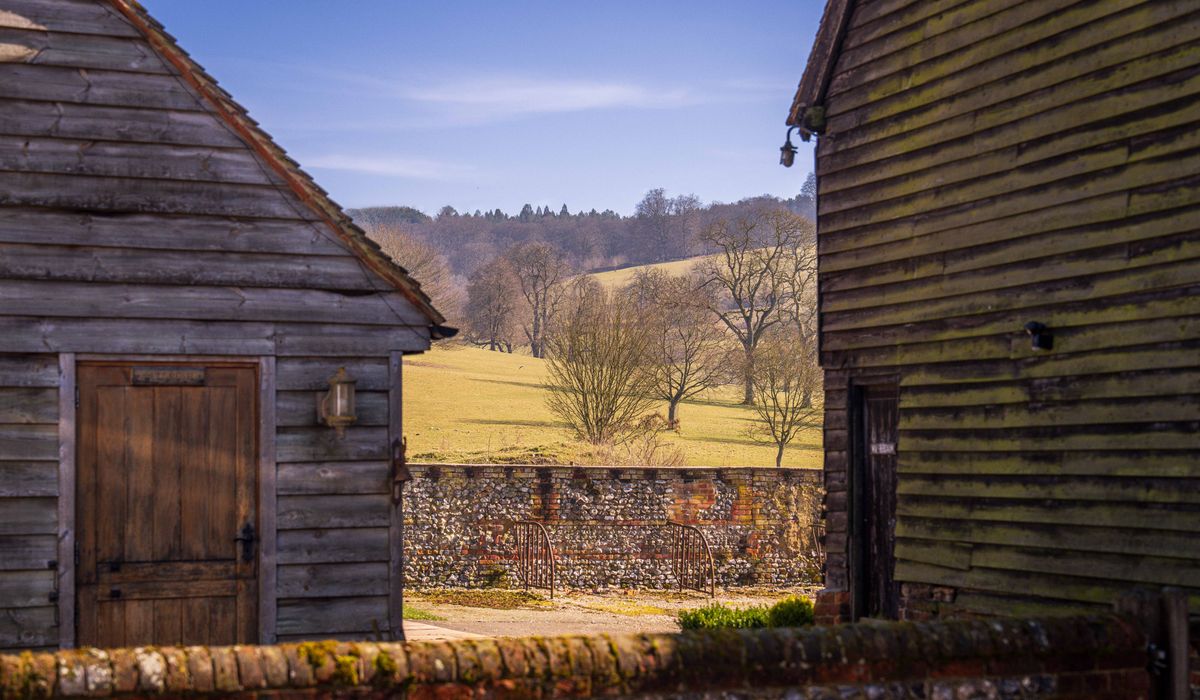
Anyone who has walked the lanes of the Kent and Sussex Weald in February knows how the rain arrives sideways. Timber-framed buildings have stood here for centuries, but their oak skeletons were never meant to face the weather alone. Weatherboarding — overlapping horizontal boards fixed to battens — became the Weald's quiet hero. It acts as a sacrificial skin, shedding rain and wind while allowing the frame behind to breathe. Unlike render or brick, weatherboarding can be repaired board by board, and it suits the irregular, movement-prone nature of old timber frames. The Weald's heavy clay soils and ancient woodlands provided both the oak for the frame and, later, the sweet chestnut and larch for the boards themselves. This cladding is not decorative. It is a practical response to a wet, windy climate, and it has shaped the character of the region's farmsteads, barns and oast houses.
Early weatherboarding in the Weald was purely utilitarian. Medieval barns and granaries needed dry storage, so boards were nailed over the timber frame with generous overlaps. By the 17th and 18th centuries, the technique had spread to farmhouses, cottages and outbuildings. But it was the hop industry that gave weatherboarding its most iconic Weald expression: the oast house. As hop growing expanded across Kent and Sussex, round and square oasts appeared, their stowage areas and roundels clad in weatherboarding. The boards protected the kiln and the precious hops from damp, while the white cowls above turned with the wind. Weatherboarding also covered animal shelters, cart lodges and even modest cottages. Oak was the first choice, but by the 19th century imported softwoods like pine and spruce, along with local chestnut, became common. Each area developed its own look: black tarred boards near the coast, silvered oak inland, and later painted white or cream on estate cottages.
Not all weatherboarding is the same. The most common profile in the Weald is feather edge — a board that tapers from thick to thin, so the lower edge of one board sits neatly over the upper edge of the one below. Shiplap has a rebate that creates a tighter seal, while square edge boards rely on a simple overlap. Traditional boards were fixed to vertical battens, which in turn were nailed to the timber frame. This creates a crucial ventilation gap behind the cladding, letting moisture escape. Fixings matter: galvanised or copper nails resist rust, and stainless steel screws are useful for repairs. Boards are usually fixed with two nails per batten, placed so the wood can move slightly. Finishes vary. Many old boards were left to weather to a soft grey, while others were treated with tar, creosote or linseed oil. Modern breathable paints and stains now offer longer life without trapping damp. For oast houses, curved boards on roundels demand careful shaping and a steady hand.
Weatherboarding is forgiving. A rotten board does not mean a rotten building. Start by probing suspect areas with a knife or screwdriver — pay attention to bottom edges, joints and anywhere water sits. If a board is soft, replace it. First, remove the nails using a pry bar and hammer, working gently to avoid splitting the board above. Cut a new board to length, matching the profile and thickness as closely as possible. Prime any bare wood, especially the end grain, then fix with two nails per batten. For small holes or splits, you can splice in a short section rather than replacing the whole board. If the damage is near the bottom, a Dutchman patch works well. Always leave the ventilation gap clear. For oast houses, take extra care with curved sections — make a template from cardboard before cutting. Never seal the bottom edge of the cladding; water must be able to drain away.
An annual walk-round is the best investment. Check for loose or missing nails, cracked boards, and blocked gutters that send water down the cladding. Clear any ivy or creepers that trap damp against the boards. If paint is flaking, sand back and recoat with a breathable product — every five to seven years is typical. For untreated boards, a coat of linseed oil or a modern wood stain will slow the silvering process, though many owners prefer the natural weathered look. Look behind the boards if you can: if the battens are rotting, the frame may be at risk, and that is a job for a specialist. In heritage terms, repair is always better than replacement. Keeping the original boards, even with patches, preserves the building's story. Weatherboarding has protected Weald buildings for centuries. With a little care, it will keep doing so for centuries more.


We are not gonna make spamming
